Arrow Escape begins with simple recognizable pictures and gradually combines larger shapes. The first four levels are fixed:
- Upward Arrow
- Five-Point Star
- Car
- Heart
Each picture is made from multiple curved arrow lines. The useful information is at the arrowhead: trace its straight route toward the edge and check whether another line crosses it.
Level 1 — Upward Arrow
Use the simple arrow silhouette to learn the motion. Pick a line whose arrowhead faces an unobstructed edge and watch how its curved body follows the existing route. If a line bumps back, inspect the line it touched instead.
This level teaches the central rule: a blocked attempt is safe, while every successful removal creates more room.
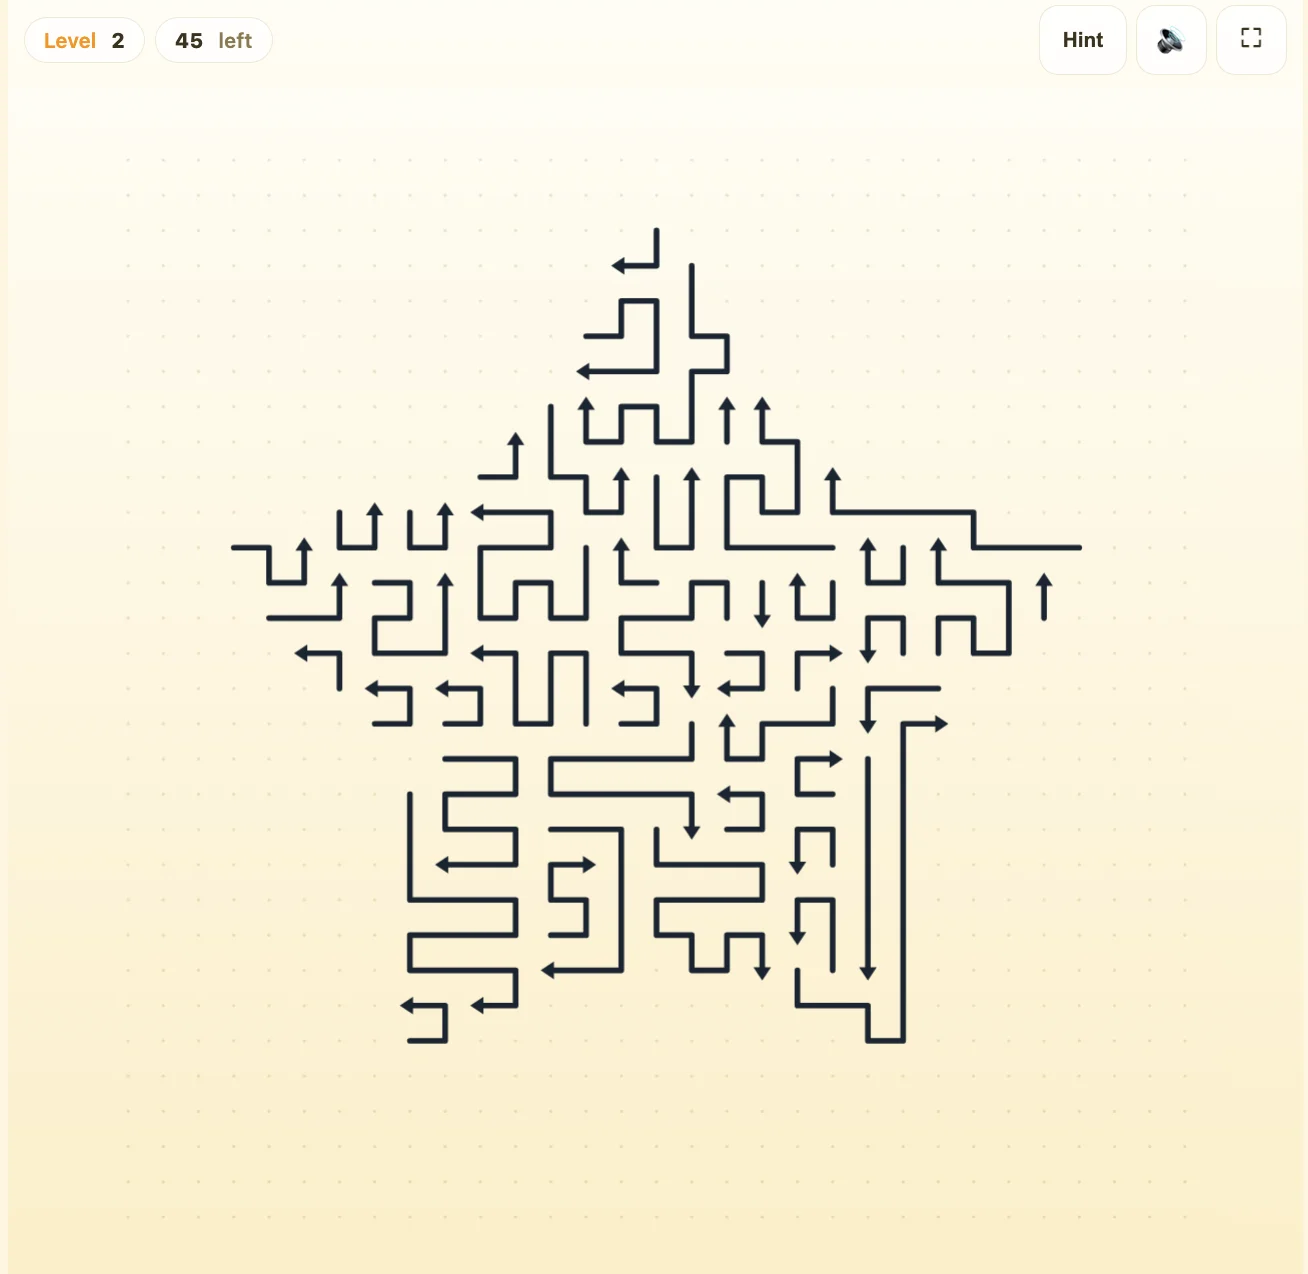
Level 2 — Five-Point Star
The star introduces more visible crossings. Do not assume two drawn lines block each other everywhere they appear to overlap; focus on whether an occupied segment lies directly in front of the selected arrowhead.
Start with the clearest outward exit. Each removal simplifies the star and makes the next head easier to read.
Level 3 — Car
The car spreads line segments across a wider silhouette. Scan the outer parts of the picture first, then follow any bump to the exact blocker. Long curved bodies can look complicated, but the exit decision still comes from the head’s straight route.
Level 4 — Heart
The heart’s two lobes create a denser centre. Compare the arrowheads around both sides before tapping and clear a line with an unobstructed outward route. When the centre is hard to read, use Hint once and trace why the highlighted line is valid before removing it.
The method for later levels
- Find the arrowheads before following the long bodies.
- Trace each head’s straight route to the edge.
- Treat a bump as a clue to the next blocker.
- Remove a clear line, then reassess the simplified picture.
- Use Hint or H whenever you need a guaranteed available move.
Arrow Escape stores level progress in your browser. Finish a level, select Next Level and return on the same device to continue through the 300-picture sequence.
Why your board may look different from an opening picture
If some lines have already left, the silhouette can be harder to recognise. Use the level indicator and inspect the remaining heads instead of trying to reconstruct the whole picture. Saved progress can also open a later level when you return in the same browser.
A walkthrough does not require one identical removal order. Two players can remove different free lines and still solve the same level. If an expected line is blocked, inspect its current exit route rather than repeatedly tapping the remembered position.
Use this walkthrough with the game
Open Arrow Escape, check the level name or number and apply the matching section above. After each successful move, reassess the arrows that it was blocking. If you need to review how the curved body moves, read the game rules; for later dense boards, use blocking-chain tactics.